DIY Painting Tips: How to Prep Your Cincinnati Home for a Professional Finish


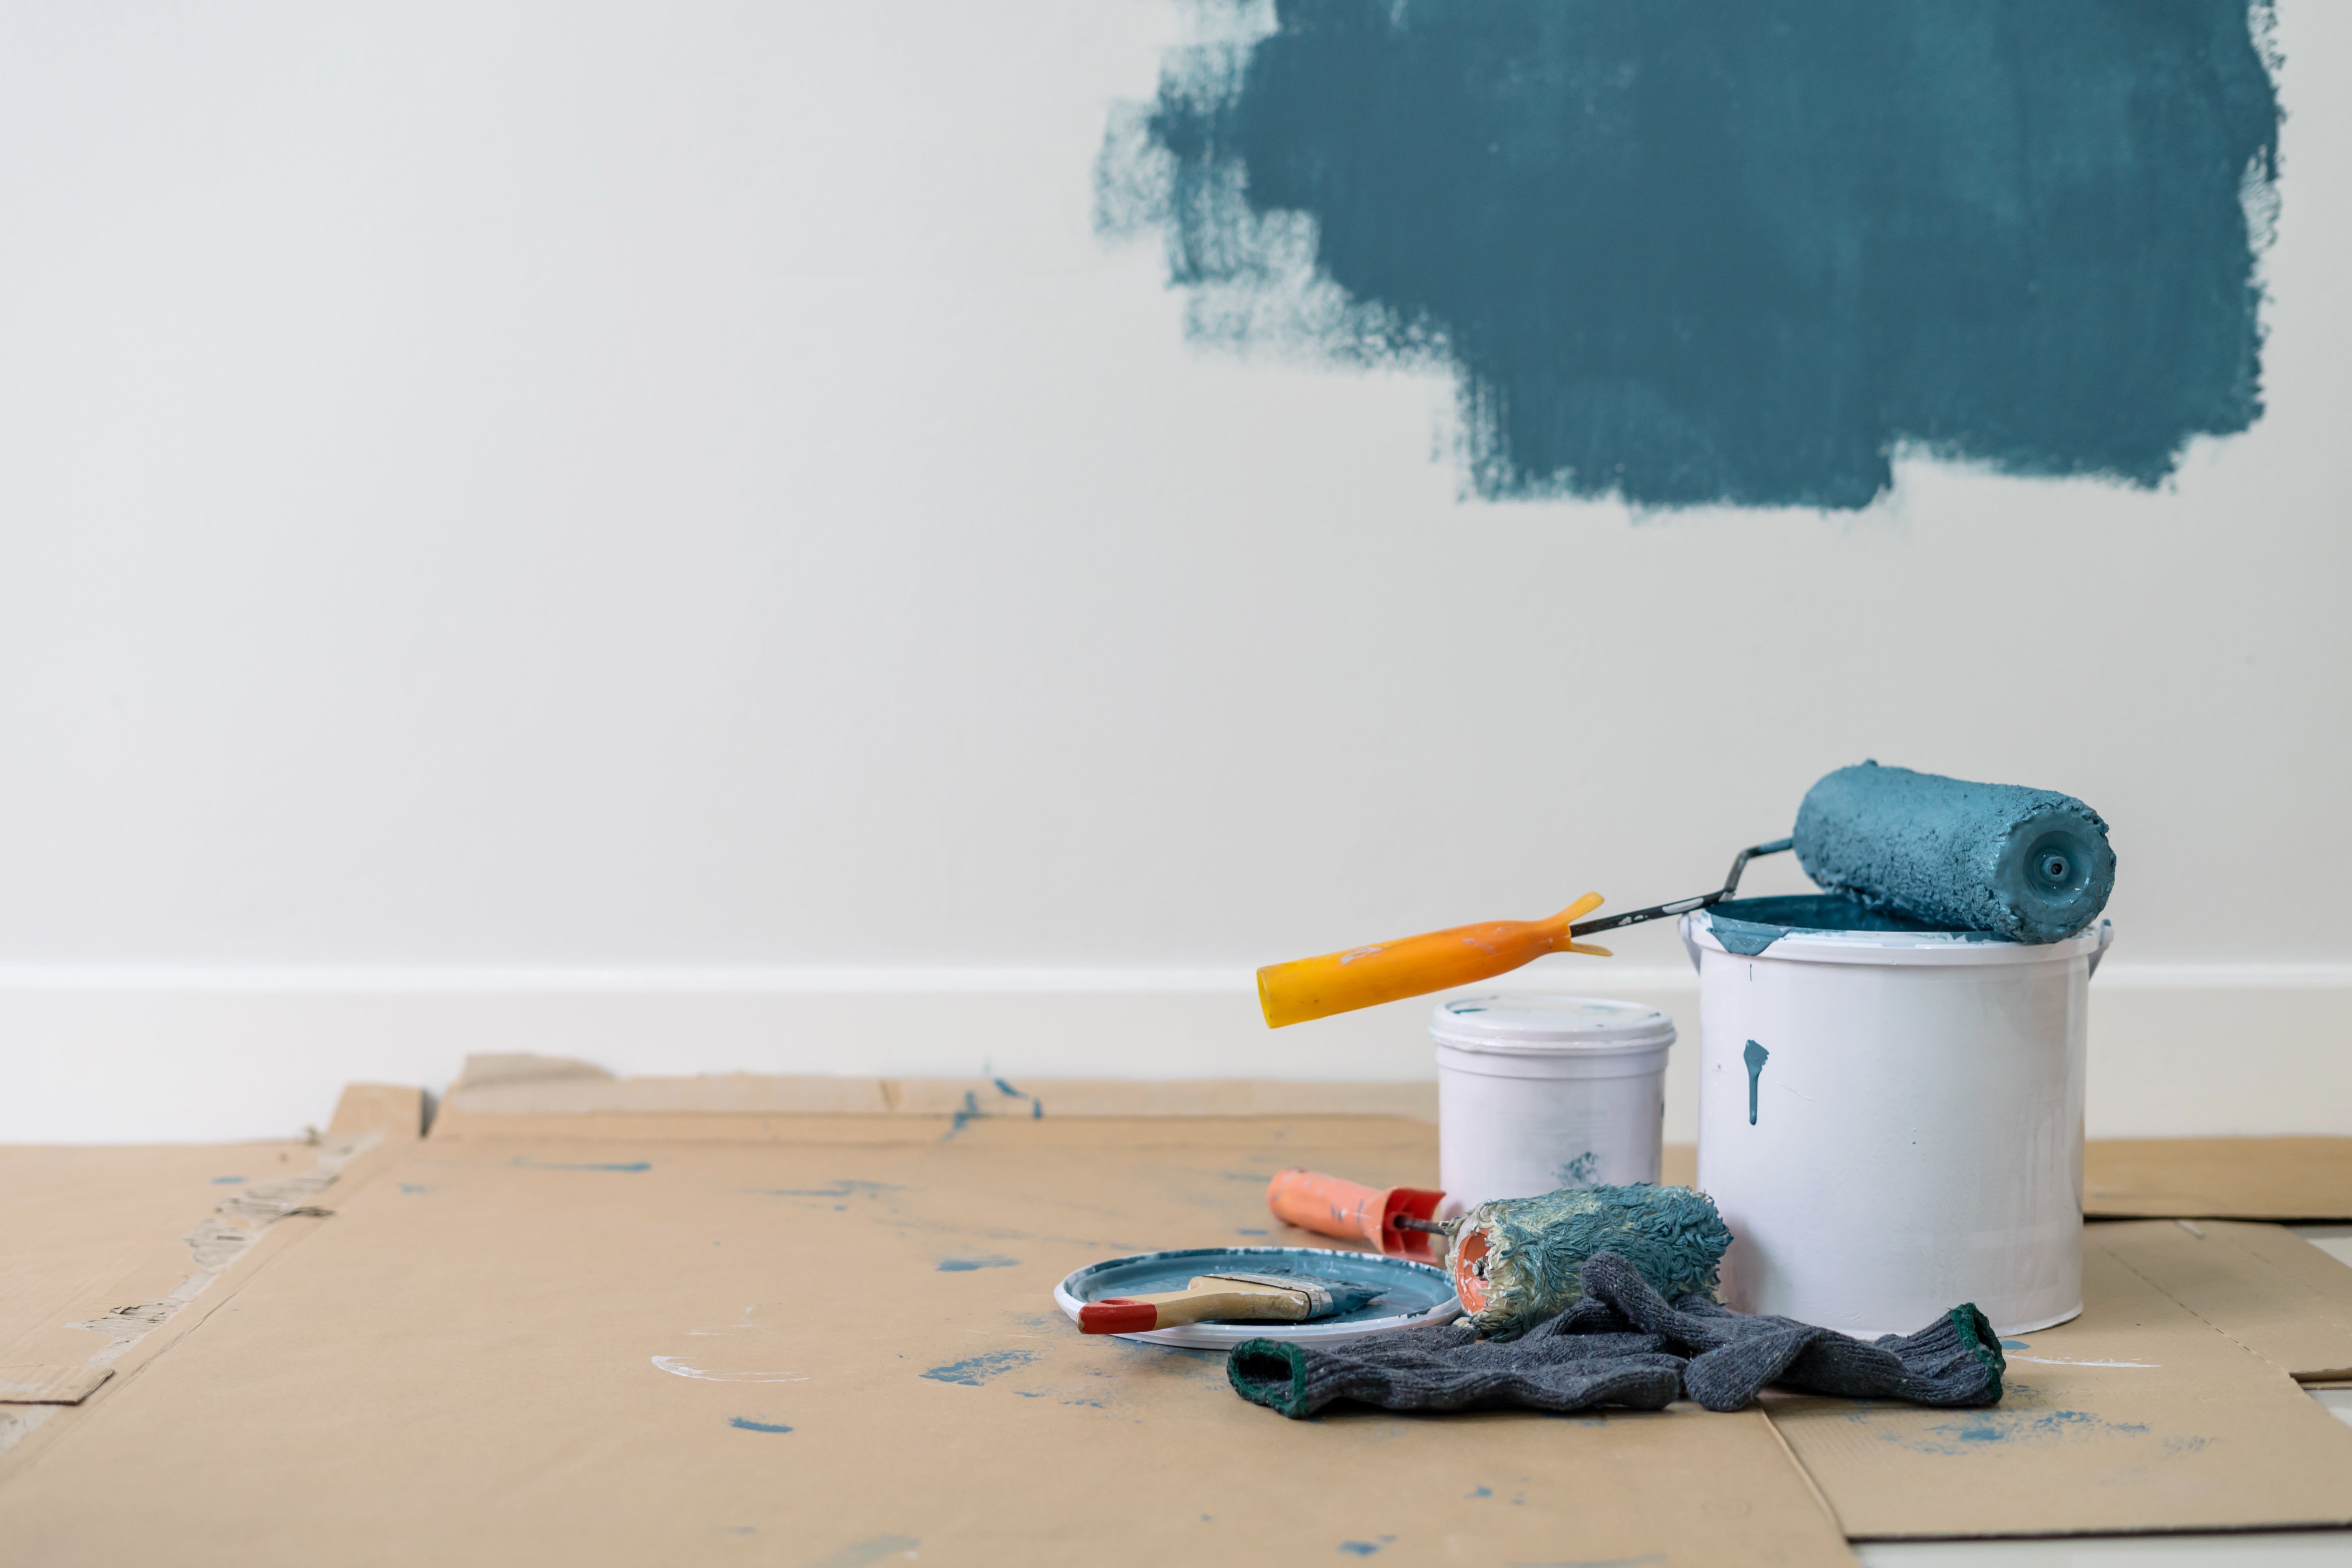
Gather Your Materials
Before you begin your DIY painting project, make sure you have all the necessary materials. A well-stocked toolkit will ensure you don't have to pause mid-project to run to the store. Essential items include:
- High-quality paint and primer
- Paint brushes and rollers
- Painter's tape
- Drop cloths
- Sandpaper or sanding blocks
- Putty knife and spackle
Having these materials ready will keep your project running smoothly and help you achieve a professional finish.
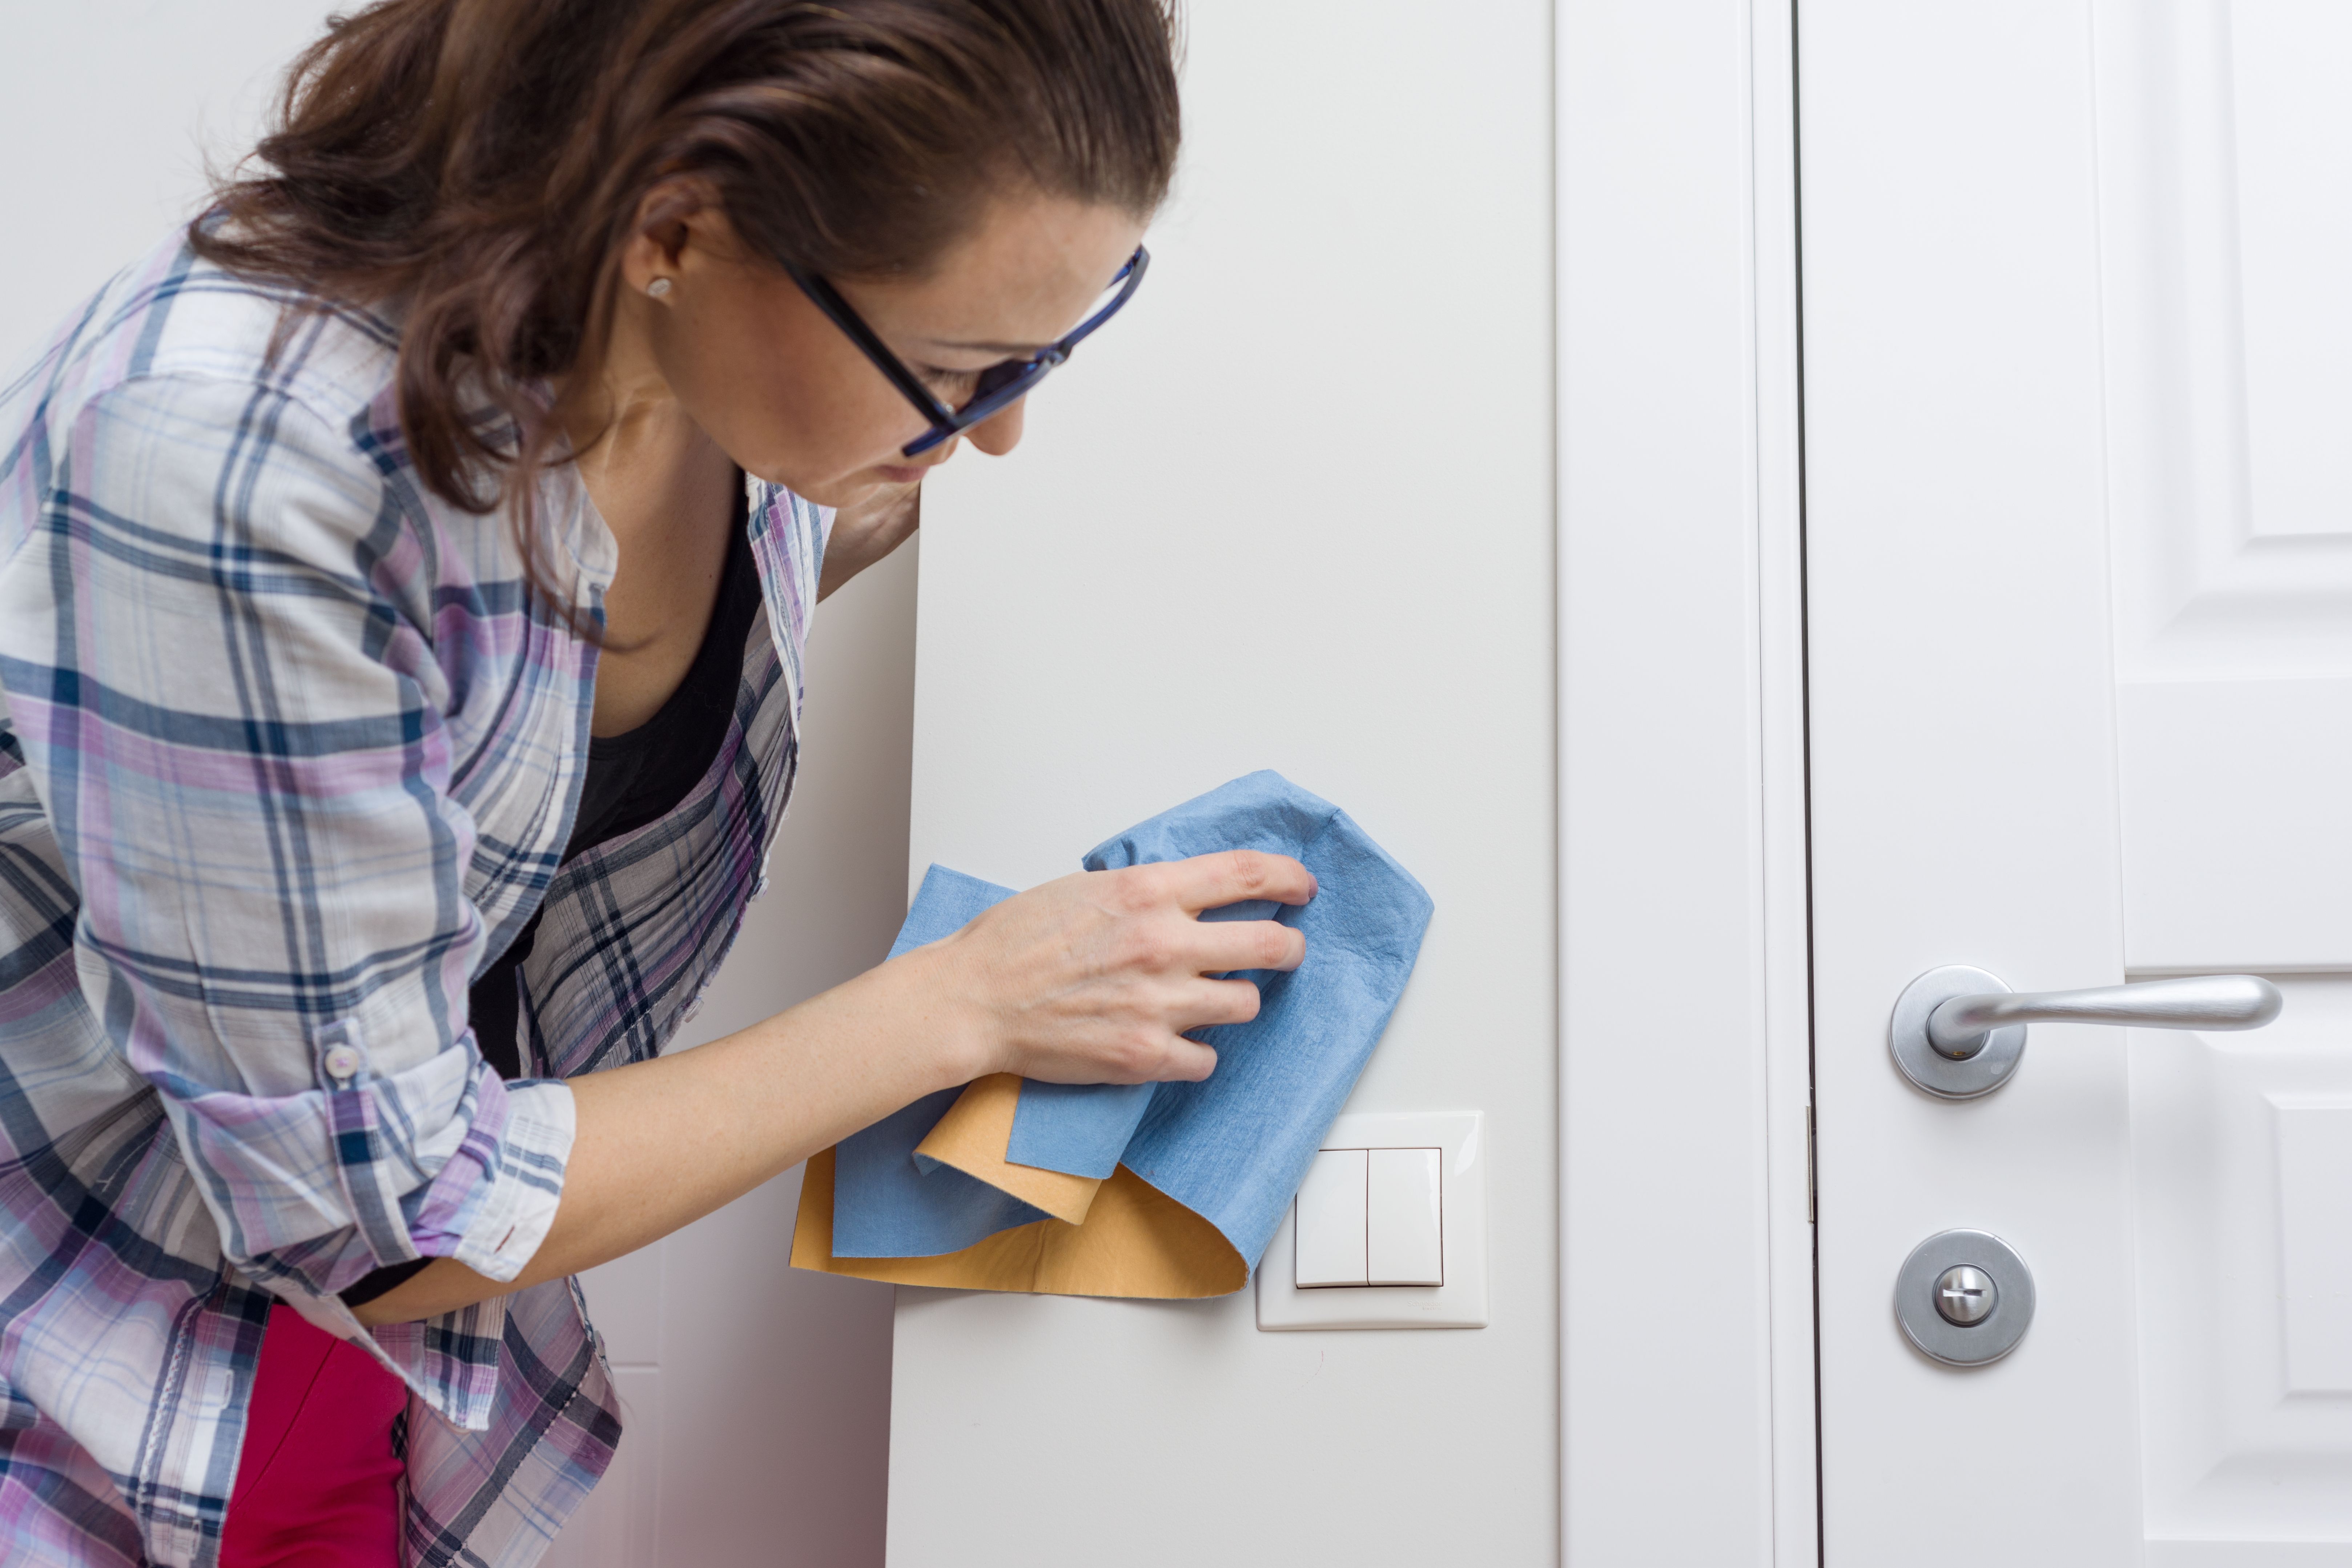
Clean and Clear the Space
To ensure a smooth application, it's important to start with a clean surface. Dust and dirt can interfere with paint adhesion, so take the time to thoroughly clean your walls. Use a mild detergent and water to wipe down surfaces, and let them dry completely before proceeding.
Additionally, clear the room of furniture and cover any items that cannot be moved with drop cloths. This will protect your belongings from accidental paint splatters.
Repair Any Wall Imperfections
Inspect your walls for any imperfections such as holes, cracks, or dents. Use a putty knife to apply spackle to these areas, smoothing it out evenly. Once the spackle is dry, sand it down to create a seamless surface. This step is crucial for achieving a flawless finish.
Don't forget to remove any loose or peeling paint. Sand these areas until smooth, ensuring the new paint adheres properly.
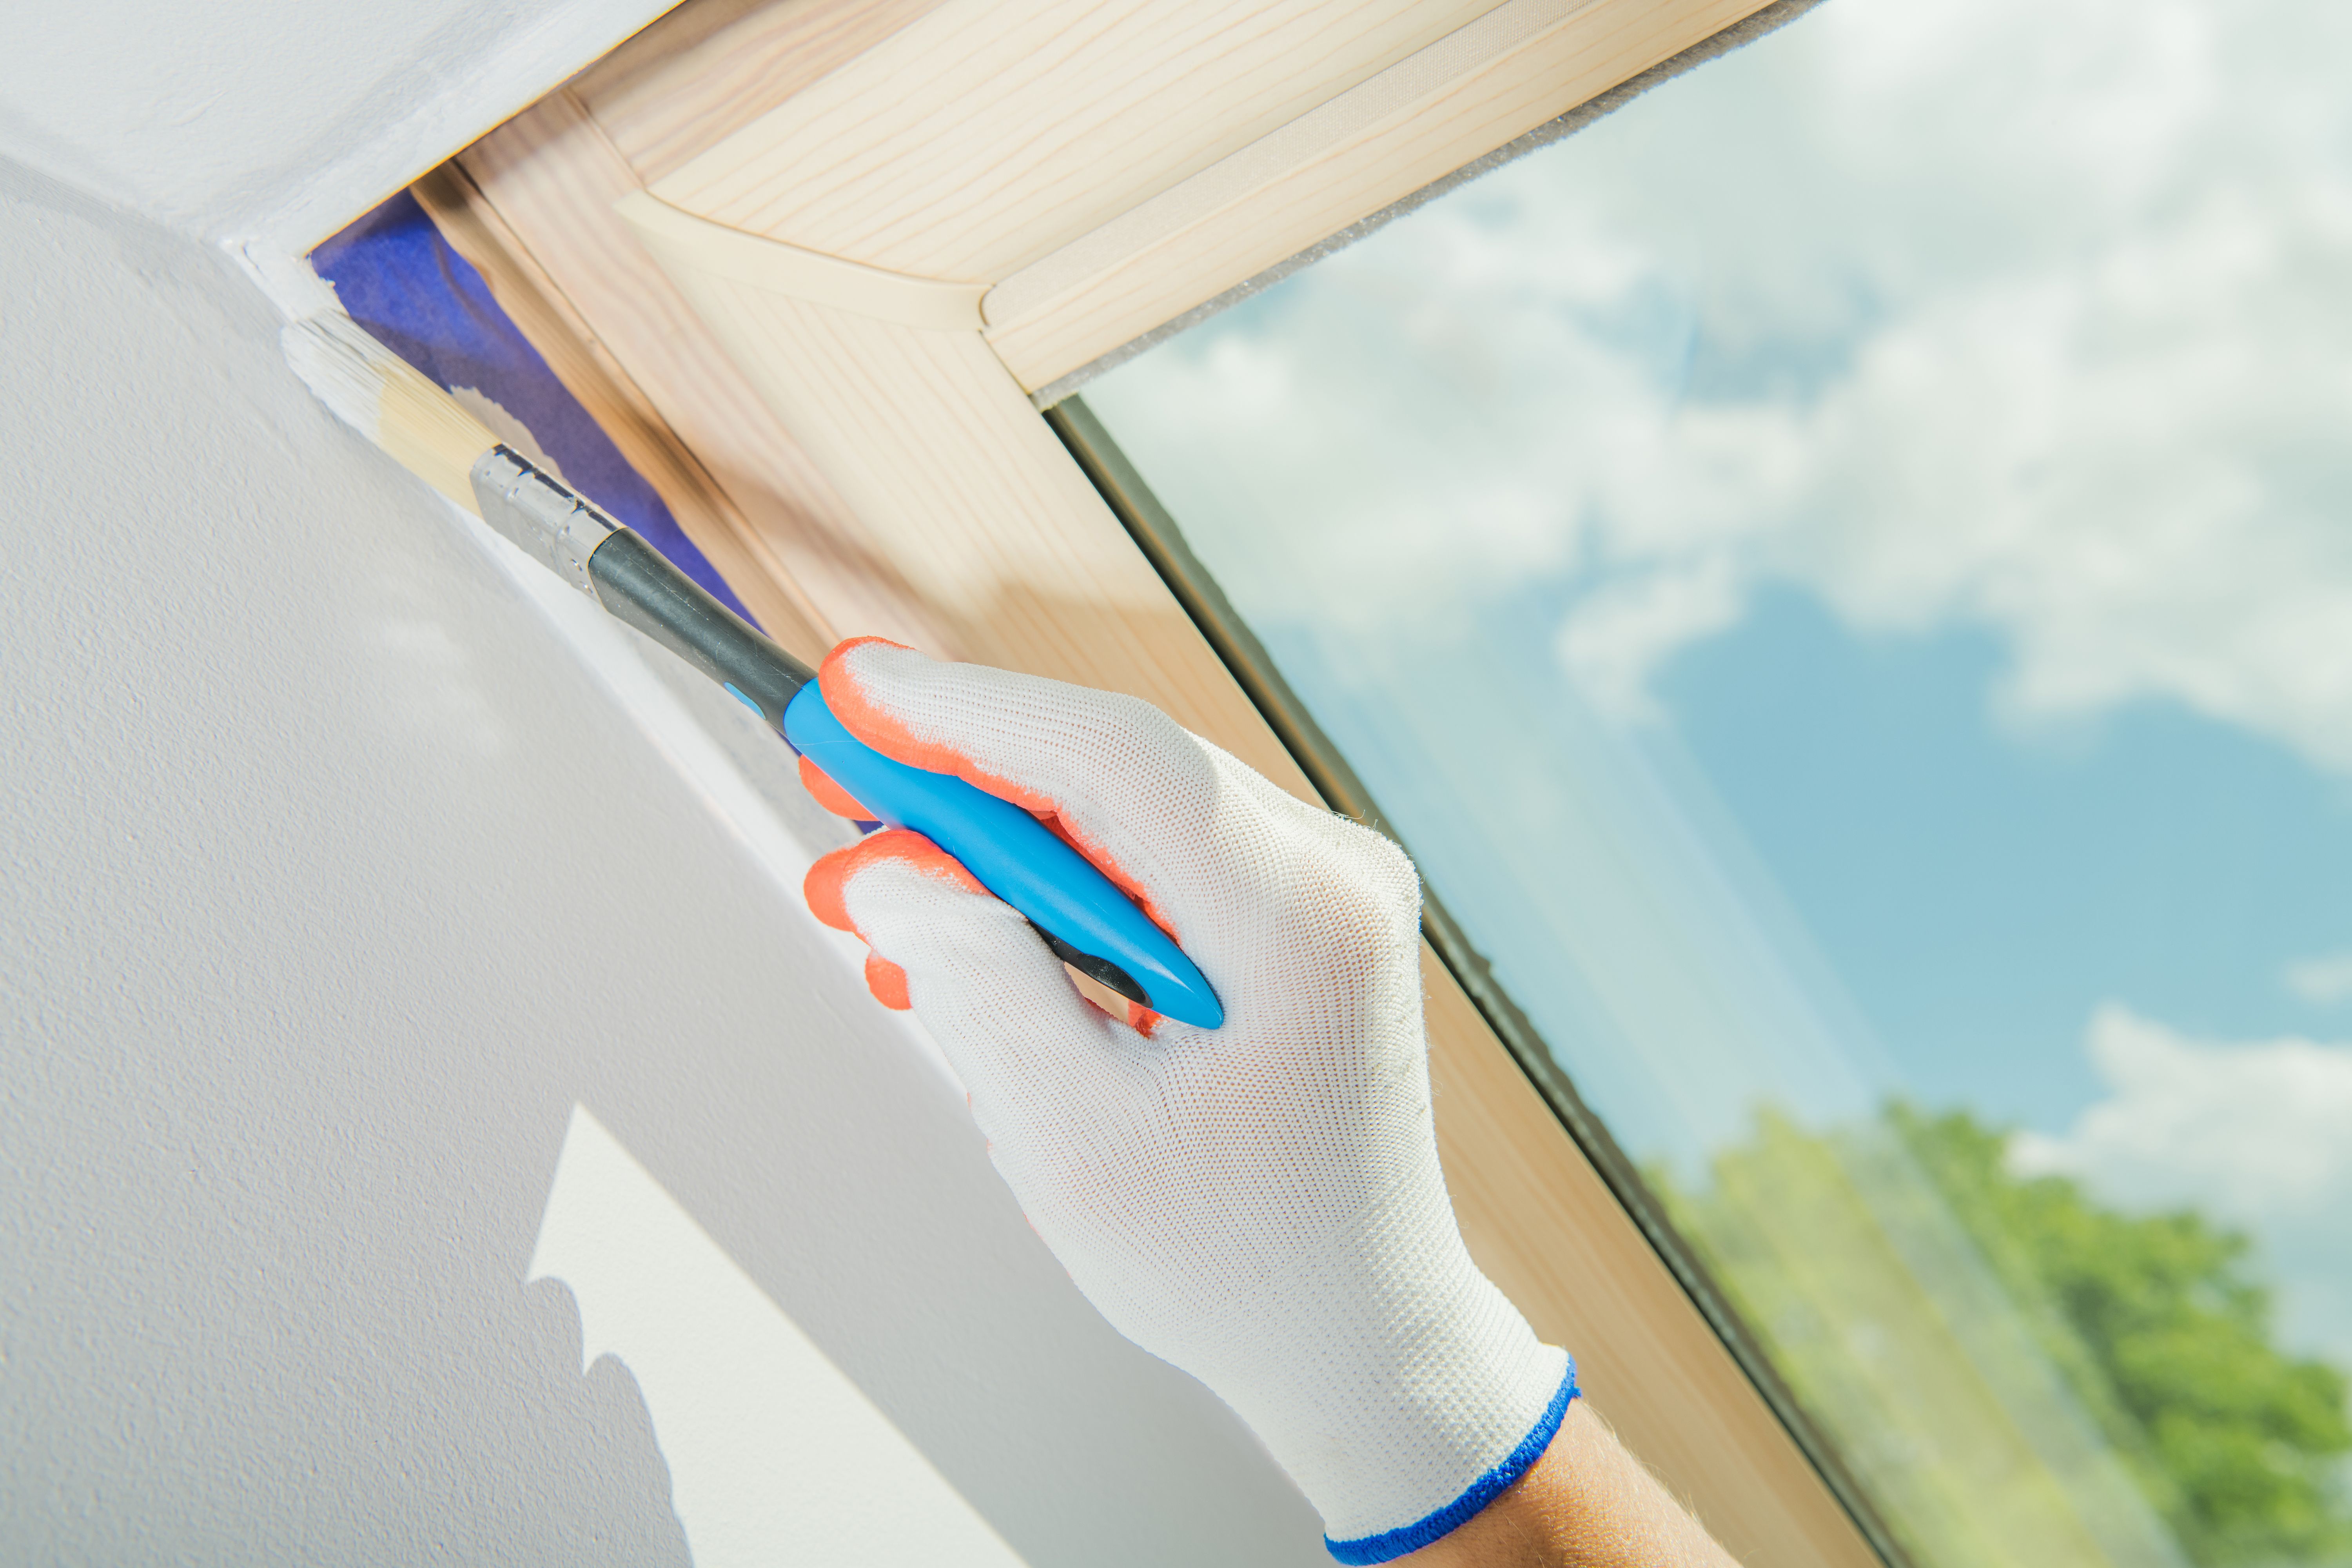
Apply Painter's Tape with Precision
Painters tape is your best friend when aiming for crisp, clean lines. Carefully apply the tape along trim, baseboards, and any other areas you want to protect from paint. Press down firmly to ensure it adheres properly and prevents paint bleed.
Tip: When removing the tape, do so slowly and at a 45-degree angle to avoid damaging your fresh paint job.
Prime for Perfection
Priming your walls is an essential step that should not be overlooked. A good primer provides a uniform surface for the paint to adhere to, covers stains, and can even help reduce the number of coats needed. Choose a primer that's compatible with the paint you're using for the best results.
Apply the primer evenly with a roller and allow it to dry completely before proceeding with painting.
Paint Like a Pro
Now that your space is prepped, it's time to start painting. Begin by cutting in with a brush around edges and corners where rollers can't reach. Then, use a roller for larger areas, applying the paint in a "W" pattern to avoid streaks.
Remember: Multiple thin coats are preferable to one thick coat for achieving a smooth finish. Allow each coat to dry completely before applying the next.
Tidy Up
Once you're satisfied with your paint job, it's time to clean up. Carefully remove painter's tape, gather up drop cloths, and return any moved furniture to its original position. Clean your brushes and rollers according to the manufacturer's instructions to keep them in good condition for future projects.
A well-executed cleanup will leave your space looking neat and allow you to enjoy your freshly painted home without delay.
Enjoy Your Newly Painted Space
With careful preparation and attention to detail, you've transformed your Cincinnati home with a professional-looking paint finish. Take a moment to admire your handiwork and enjoy the refreshed atmosphere you've created.
Whether you're updating a single room or your entire home, these DIY painting tips will help you achieve stunning results that you'll be proud of for years to come.